Vegetable Gardening Resource
go.ncsu.edu/readext?672292
en Español / em Português
El inglés es el idioma de control de esta página. En la medida en que haya algún conflicto entre la traducción al inglés y la traducción, el inglés prevalece.
Al hacer clic en el enlace de traducción se activa un servicio de traducción gratuito para convertir la página al español. Al igual que con cualquier traducción por Internet, la conversión no es sensible al contexto y puede que no traduzca el texto en su significado original. NC State Extension no garantiza la exactitud del texto traducido. Por favor, tenga en cuenta que algunas aplicaciones y/o servicios pueden no funcionar como se espera cuando se traducen.
Português
Inglês é o idioma de controle desta página. Na medida que haja algum conflito entre o texto original em Inglês e a tradução, o Inglês prevalece.
Ao clicar no link de tradução, um serviço gratuito de tradução será ativado para converter a página para o Português. Como em qualquer tradução pela internet, a conversão não é sensivel ao contexto e pode não ocorrer a tradução para o significado orginal. O serviço de Extensão da Carolina do Norte (NC State Extension) não garante a exatidão do texto traduzido. Por favor, observe que algumas funções ou serviços podem não funcionar como esperado após a tradução.
English
English is the controlling language of this page. To the extent there is any conflict between the English text and the translation, English controls.
Clicking on the translation link activates a free translation service to convert the page to Spanish. As with any Internet translation, the conversion is not context-sensitive and may not translate the text to its original meaning. NC State Extension does not guarantee the accuracy of the translated text. Please note that some applications and/or services may not function as expected when translated.
Collapse ▲Vegetable gardening is a satisfying way to dramatically improve your health by eating more produce, getting in more activity, managing stress, connecting with nature, reducing screen time, and feeling more resilient. There is so much info it can seem overwhelming. This article is designed to break the process into simple steps and point you to some resources if you want to deepen knowledge. Here are the main steps to start your vegetable garden and have a successful season:
- Choose a site
- Make a plan for what you want to grow
- Prepare your soil
- Set up irrigation
- Plant or Transplant
- Fertilize
- Manage weeds
- Manage insects
- Harvest and preserve your produce
Choose a site
- Choose a spot with at least 6-8 hours of unfiltered full sun.
- Make sure this area is well drained, not a place with large puddles during a rainstorm.
- Consider wildlife and how you will protect your garden from it.
Make a plan for what you want to grow
- Decide what the main goals of your veggie garden are; be sure to involve the whole family so that everyone feels some ownership in the process.
- Example garden goals include:
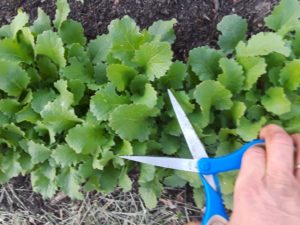
- Eat a salad from the garden everyday – focus on growing a diversity of greens and consider heat and cold tolerant options.
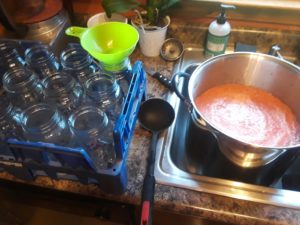
- Can tomato sauce for the season – focus on Roma type tomatoes.
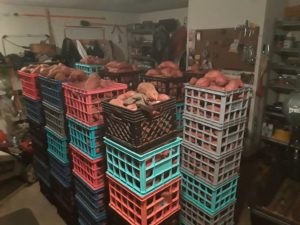
- Get more food security from your garden – focus on calorie-dense veggies with good storability like sweet potato, winter squash, irish potato.
- Build community – focus on produce that is easier to share like root crops or celebration favorites like watermelon.
- Fine tune your garden goals each year with a specific quantity of each produce item and then dedicate specific garden space to meet that goal.
- For example, if you decide that your family wants 100 pounds of purple potatoes then you know that you will need between 10 and 20 pounds of purple potato seed to plant in 100 feet of garden row.
Prepare your soil
- Take a soil sample for an N.C. Department of Agriculture and Consumer Services soil test (takes 3 weeks to get results on-line) or a private lab test such as Water’s Agriculture Labs (takes 48 hours to get results for a $10 fee).
- Prepare garden beds in the following order of operation:
- Kill the vegetation:
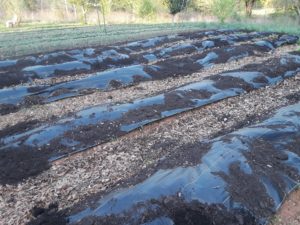
- Cover the area in a tarp (takes about 3 weeks to kill the grass).
- Weed wack it down to the ground and cover with a tarp (faster).
- Spray it with an herbicide like Round Up (takes 15 days to kill – follow label).
- Spread the needed lime, phosphorus, and potassium on the area (you have this info from the soil sample test results). If you are planting blueberries call the extension office to help you add the right amount of sulfur to get your pH below 5.0. Typically 2 lbs of wettable sulfur per 100 square feet will lower your pH by one full point (e.g. from 5.9 to 4.9).
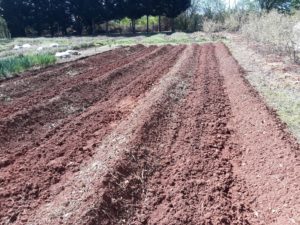
- Till the area – with a tiller or the old fashion way, with a shovel and
mattock tool. Lime and phosphorus are very slow moving in the soil so this will get those inputs into the root zone where they are needed.
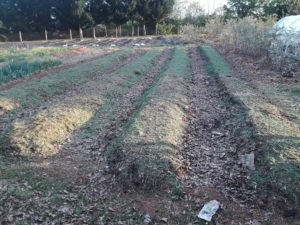
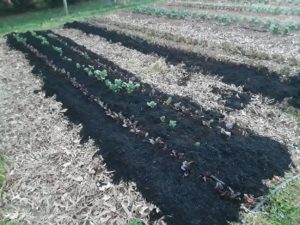
- Form the beds and walkways by pulling soil from the walkway areas into the bed area. It is a good idea to measure and pull strings across the field to guide this process and assure straight beds with desired dimensions. I like beds that are 30 inches wide and walk ways that are wide enough for my wheel barrow – 24 inches. You don’t need lumber or even borders to make raised beds, just pull all of the soil from the walk way into the raised bed and cover the sides of the raised bed in mulch to hold in place. This is the cheap and easy raised bed method!
- Kill the vegetation:
Set up irrigation
- Of course, you can irrigate the old fashion way with a hose or even buckets (great exercise!). Be sure to avoid getting plant leaves wet when you water. One of the number one ways to minimize plant foliar fungal diseases is to minimize leaf wetness time.
- Soaker hoses are OK but we don’t recommend them because they clog easily.
- Drip irrigation is the best way to irrigate a garden. Although it is a small investment to set it up it will pay for itself in a season or two with better harvest, reduced disease, and less time spent holding a hose.
- There are several companies that sell drip irrigation equipment on-line. They will ship you the materials within a few days. Be sure to utilize their educational resources and talk to a representative to make sure that all of your parts are compatible.
- Basic drip irrigation set up for less than 1 acre:
- Connect to your faucet or hose a pressure regulator plus filter – usually one unit.
- Connect a supply line – usually 1/2 inch poly line.
- Connect drip valves along the supply line – you will need a punch tool (to make holes in the poly line) that is compatible with the drip valves you buy.
- Connect drip tape (this is what runs along the rows in your beds) to the valves and put a cap at the end of the line.
Plant or Transplant
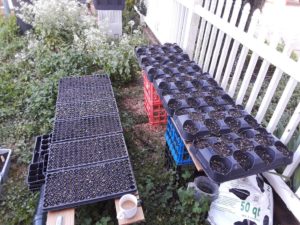
- You can start your own transplants, buy from a local greenhouse, or direct seed in the bed. Most small seeded veggies do best with transplants and many large-seeded veggies are best planted directly. There are lots of exceptions to this and many veggies can be planted both ways – various leafy greens for example.
- Transplant: tomatoes, peppers, eggplant, broccoli, cauliflower, Brussels
sprouts.
- Direct seed: beans, corn, okra, seed potato, sweet potato slips, most root crops.
- Transplant: tomatoes, peppers, eggplant, broccoli, cauliflower, Brussels
Fertilize
- Each crop has a different fertilizing schedule but here is a very general fertilizing plan:
- Put all needed phosphorus and potassium (unless very sandy soils) out at planting.
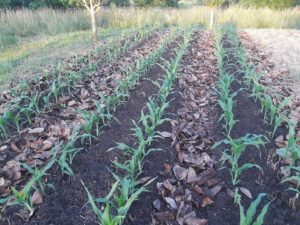
- For a one-and done-harvest-crop like sweet corn, put out 20% of the needed nitrogen at planting, 80% 4-6 weeks later depending on growth. For sweet corn, the critical stage for nitrogen application is when it reaches a height of approx. 2 feet – knee high.
- For crops with continuous fruiting through the season like tomato, pepper, and okra, put 20% of the needed nitrogen out at planting, 20% three weeks later,
30% before fruiting, and then 10% every 2-3 weeks after flowering/fruit set. During flowering and fruit set give the crop more potassium than nitrogen in most cases.
- Be sure to apply some micronutrients such as boron. Put 2 level tbsp of borax in 1 gallon of water and apply to 100 foot of row. Don’t overdo it because boron toxicity can occur!
- For specific fertilization recommendations per crop see pg 6, table 2 of The 2020 Southeast Vegetable Crop Handbook. You can convert per acre recommendations to a per 1000 square foot basis by dividing the fertilizer amount by 43.5 (there are 43,560 square feet in an acre). For example: the nitrogen recommendation for winter squash is 85 lb of N per acre. That is equivalent to approx. 2 lbs of N per 1000 square feet. If you only planted 5 squash vines at a spacing of 4 feet between plants you can calculate ferilizer needs like this:
- 4 feet x 4 feet= 16 square feet per vine
- 16 square feet x 5 vines = 80 square feet
- 2 lbs N per 1000 square feet = ? lbs N per 80 square feet.
- ? = 80/1000 x 2 lbs = .16 lbs of N
- If you are using 10-10-10 fertilizer, that means that the product is 10% N, 10% P, and 10% K. Therefore you will need 1.6 lbs of that fertilizer in order to get 0.16 lbs of N.
- Sorry for the algebra – if that is confusing you are not alone. Just call your extension office and we’ll help you with the math.
Manage weeds
- Don’t bring in weed seeds.
- Keep the ground covered with mulch.
- Kill weeds when they are small.
- More advice on weed management while building your soil.
Manage insects
- Take a picture of the insect pest and send to the office for identification or take a look at these resources to identify the insect.
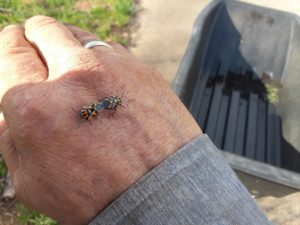
- Based on insect identification and degree of infestation you can develop a management plan – don’t just start spraying when you see insects! Most insects in your garden are beneficial.
Harvest and preserve your produce
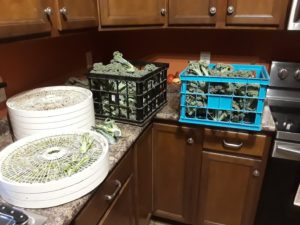
- You can freeze, pickle, can, ferment, dehydrate, or simply store at the proper temperature anything that you can grow in your garden. This will allow you to eat from your garden all year long.
- Take a look at these resources to extend the shelf life of fresh produce.
- The BEST resource for garden produce preservation is the National Center For Home Food Preservation website.
For more info check out some of my other articles on homesteading. You can eat from your garden year round!
Project Homestead – Grow Your Own Food on Less than 1 Acre in Catawba County
Homesteading – Eat a Salad From Your Garden Everyday
Homesteading: Grow Your Own Food – Planting Schedule


